

Your washing machine breaks, and your first instinct is to Google the problem. That’s smart. Some washing machine issues are genuinely easy to fix yourself — no tools, no technical knowledge, five minutes of your time. Others look simple on the surface but are actually symptoms of a deeper fault that gets more expensive the longer you wait or the more you poke at it.
The challenge is knowing which is which before you make it worse.
This guide is honest about that line. For every common washer problem, we’ll tell you exactly what’s likely causing it, what you can reasonably attempt yourself, and when calling a professional repair technician is genuinely the better move — both for your wallet and your machine.
Problem 1: Washer Won’t Start
u003cstrongu003eWhat you’ll see:u003c/strongu003e You press start, nothing happens. Or the display lights up but the cycle never begins.u003cbru003eu003cbru003eCheck these yourself first:u003cbru003e
Call a pro when:
The power supply is fine, the door latches correctly, no lock is active — and still nothing happens. This points to a failed control board, a wiring fault, or a motor start capacitor failure. These require diagnostic tools to pinpoint and proper electrical knowledge to repair safely.
DIY difficulty: Low (power and latch checks) to High (anything beyond that)
Risk of making it worse: Moderate to High if you proceed past the basics
Problem 2: Washer Not Draining
u003cstrongu003eWhat you’ll see:u003c/strongu003e The cycle finishes (or stops mid-cycle) with standing water in the drum. Clothes come out soaking wet.u003cbru003eu003cbru003eCheck these yourself first:u003cbru003e
Call a pro when:
The filter is clean, the hose is clear and correctly positioned, but the machine still won’t drain. The next likely cause is a failed drain pump. A pump that has seized, burned out, or has an electrical fault requires diagnosis with a multimeter and replacement of the pump assembly — a repair that’s well within a technician’s standard visit but involves disassembling the machine’s lower section in a way that’s genuinely difficult without experience.
DIY difficulty: Low (filter and hose) to High (pump replacement)
Risk of making it worse: Low for the filter check. Moderate for pump work.
Problem 3: Washer Not Spinning
u003cstrongu003eWhat you’ll see:u003c/strongu003e The drum doesn’t spin at all, or spins so weakly that clothes come out dripping.u003cbru003eu003cbru003eu003cstrongu003eCheck these yourself first:u003c/strongu003e
Call a pro when:
The load is balanced, the drum isn’t overloaded, and the lid switch seems intact — but the machine still won’t spin properly. The next likely causes are a worn or broken drive belt, a failed motor coupling, worn drum bearings, or a motor fault.
A broken drive belt is technically DIY-able on some machines, but accessing it requires significant disassembly that varies considerably by brand and model. If you get it wrong, you can damage the drum support or motor mount. Worn drum bearings — which produce a loud rumbling during spin — will eventually damage the drum shaft and rear bearing housing if left unaddressed, turning a $200 repair into a $500+ one.
DIY difficulty: Low (load adjustment) to Very High (belt, bearings, motor)
Risk of making it worse: High for anything beyond load adjustment
Problem 4: Washer Leaking Water
u003cstrongu003eWhat you’ll see:u003c/strongu003e Water on the floor during or after a cycle. Could be a small amount or a significant puddle.u003cbru003eu003cbru003eCheck these yourself first:
Call a pro when:
Hoses and connections are intact, the door seal isn’t visibly damaged, detergent is correct — but water still appears. Internal leaks from the tub seal, pump housing, or a cracked tub require disassembly to diagnose. A tub seal leak, in particular, will damage the drum bearing if left unaddressed — it’s one of those faults that compounds quickly. Internal leak diagnosis and repair requires removing the drum assembly on most machines. This is not a DIY project.
DIY difficulty: Low (hoses, detergent) to Very High (internal seals)
Risk of making it worse: Very High for internal work — water damage to motor and bearings if not addressed correctly
Problem 5: Washer Making Loud Noises
u003cstrongu003eWhat you’ll see:u003c/strongu003e Banging during spin, grinding or rumbling through the cycle, squealing on startup, or rattling that wasn’t there before.u003cbru003eu003cbru003eCheck these yourself first:u003cbru003e
Call a pro when:
A grinding or rumbling noise that persists through the full cycle — not just spin — points to worn drum bearings. This is one of the most important faults to address promptly. Worn drum bearings are a moderately expensive repair ($200–$350 typically), but a drum bearing failure that’s ignored for a season becomes a damaged drum shaft, a seized rear drum support, and sometimes a cracked tub — turning that $250 repair into a machine that’s uneconomical to fix.
Squealing at startup suggests a worn motor coupling or a belt issue. Intermittent clicking can indicate a damaged spider arm (the support structure behind the drum on front-loaders). All of these require professional diagnosis to differentiate accurately.
DIY difficulty: Low (leveling, load) to Very High (bearings, spider arm)
Risk of making it worse: Very High if bearing noise is ignored — it escalates quickly
Problem 6: Washer Not Filling with Water
u003cstrongu003eWhat you’ll see:u003c/strongu003e The cycle starts but the drum never fills, or fills much more slowly than normal.u003cbru003eu003cbru003eCheck these yourself first:
Call a pro when:
Both valves are open, screens are clean, water pressure is normal — but the washer still won’t fill adequately. The water inlet valve inside the machine (which controls water flow into the drum electronically) may have failed. Testing a water inlet valve requires a multimeter to check solenoid continuity. Replacement is straightforward for a technician — it’s a 20-minute job — but involves disassembly and electrical testing that’s not appropriate for most homeowners.
DIY difficulty: Low (valve and screen checks) to Moderate (inlet valve replacement)
Risk of making it worse: Low to Moderate
Problem 7: Washer Smells Bad
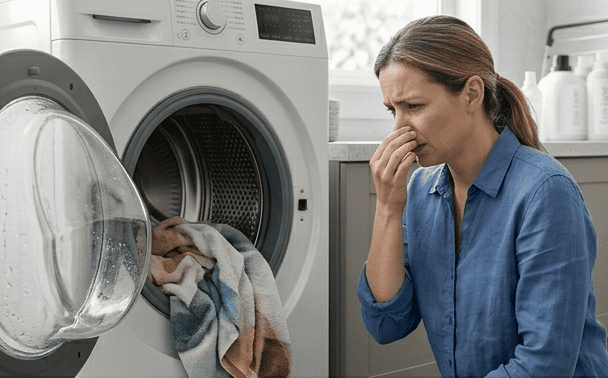
For front-load washers (the most common source of odor problems):
u003cstrongu003eFor top-load washers:u003c/strongu003e
When to involve a pro:
If odor persists after thorough cleaning and the machine is a front-loader, the issue may be mold inside the door seal that’s penetrated the rubber and requires seal replacement. If there’s a burnt electrical smell — rather than a musty smell — stop using the machine and call immediately. Electrical odors indicate an overheating component.
Problem 8: Washer Displaying Error Codes
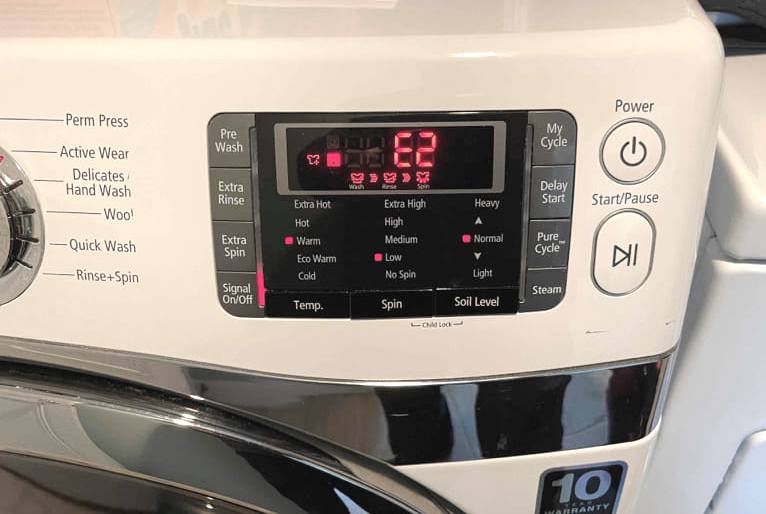
u003cstrongu003eWhat you’ll see:u003c/strongu003e A letter-number combination on the display — E1, F5, LE, UE, and others depending on brand.u003cbru003eu003cbru003eCheck these yourself first:u003cbru003eLook up the error code in your owner’s manual or on the manufacturer’s website. Many error codes are informational — they’re telling you something specific, and often the fix is straightforward:
A reset — unplugging the machine for 5 minutes — clears many transient error codes caused by power fluctuations or sensor glitches.
Call a pro when:
The error code persists after a reset, and the basic checks don’t resolve it. Persistent error codes on modern washers point to component faults — motor failures, control board faults, pressure switch failures, or sensor malfunctions. These require brand-specific diagnostic tools and knowledge of the fault code architecture. Guessing at the component and replacing parts randomly is an expensive way to approach it.
The Honest Summary: DIY vs. Pro
| Problem | DIY Fix | Call a Pro |
|---|---|---|
| Won’t start | Check the power, lid latch, and control lock | Control board, wiring, motor |
| Not draining | Clean the pump filter, check the drain hose | Failed drain pump |
| Not spinning | Balance the load, check the lid switch | Drive belt, bearings, motor |
| Leaking | Tighten hoses, check door seal | Internal tub seal, pump housing |
| Loud noises | Level machine, check for objects | Drum bearings, spider arm |
| Not filling | Check supply valves, clean inlet screens | Water inlet valve failure |
| Bad smell | Cleaning cycle, clean the gasket, leave the door open | Mold in the seal, electrical smell |
| Error codes | Look up the code, reset the machine | Persistent codes after reset |
One More Thing Worth Saying
Don’t let laundry disruptions slow you down.